A Telescope’s Aperture, Explained by the Light It Gathers
Aperture describes the opening that gathers light, but it does not predict every view. Learn how it relates to faint targets, detail, magnification, and the practical fit of a telescope.
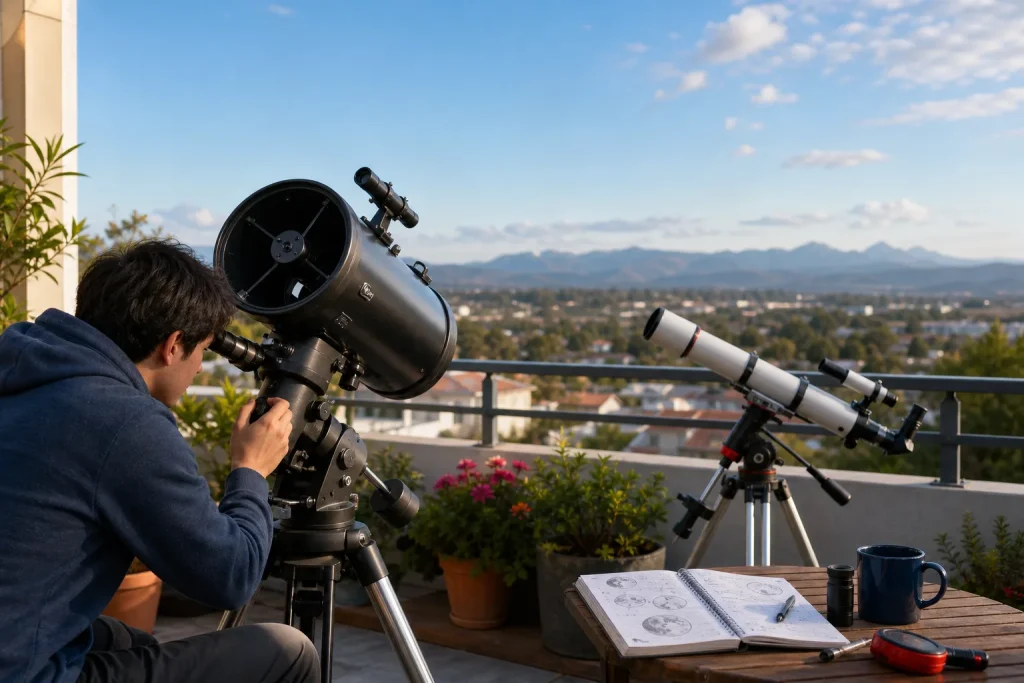
The common mistake is to treat a telescope’s highest advertised magnification as a promise of the best view. Increasing magnification makes an image larger, but it does not add light or detail; the result can be a dimmer, less steady image. Aperture—the diameter of the telescope’s main light-collecting opening—helps explain what an instrument can show, though it cannot guarantee a particular view.
Aperture names the light-collecting opening
In a refractor, the aperture is the diameter of the main lens at the front. In a reflector, it is the diameter of the primary mirror. It is not the width of the tube or the size of the eyepiece.
Light from a celestial object enters through that opening and is brought toward a focus. The eyepiece lets you inspect the resulting image, but it cannot collect light that missed the telescope’s aperture.
A larger opening gathers more light
Aperture’s light-gathering capacity depends on the area of the opening. Because the area of a circle grows with its diameter, a larger opening collects more incoming light than a smaller one, assuming the optics are working properly. That added light can make faint objects easier to detect, although the visible result also depends on the object, the sky, the optics, and the observer’s eyesight.
For example, a diffuse nebula may remain a faint patch rather than becoming a vivid picture, even through a larger telescope. Additional collected light can help its less obvious regions stand out, but it does not change the object into a bright, detailed photograph.
For bright targets such as the Moon, collecting more light is often less important than producing a sharp, well-focused image. A telescope’s aperture can support fine detail, but the instrument’s optical quality and the steadiness of the air also matter.
Aperture sets potential resolution
Resolution is the ability to distinguish nearby points or small features rather than seeing them blended together. Because light behaves as a wave, a telescope forms a small diffraction pattern instead of a perfectly sharp point. A larger aperture can produce a narrower pattern and, in suitable conditions, distinguish finer detail.
That is a capability, not a nightly forecast. Atmospheric turbulence can make a planet’s edge waver or blur small features. Optical alignment and focus matter as well: a reflector with misaligned mirrors, for instance, will not show all the detail its aperture could otherwise support.
For a reflector, collimation means aligning its mirrors. Temperature changes can also create moving air inside a telescope tube and soften the image until the optics adjust to the surrounding conditions.
Magnification changes image scale, not aperture
Magnification is set by the relationship between a telescope’s focal length and the eyepiece’s focal length. Using a different eyepiece changes how large the image appears, but it does not change the size of the light-collecting opening.
As magnification increases, the image is spread over a larger apparent area and usually looks dimmer. High power also makes blur, vibration, and difficulty focusing more noticeable, so the most useful view is not always the largest one.
Imagine you have a small telescope aimed at Jupiter. You switch from a longer-focal-length eyepiece to a shorter-focal-length one; Jupiter appears larger, but the image dims and wavers enough that its markings are harder to pick out. You return to the first eyepiece, where the brighter, steadier view makes the visible detail easier to inspect. The result is a more useful view, not a change in the telescope’s light-gathering ability.
Optics and observing conditions shape the view
Aperture works as part of an optical system. A well-made, properly aligned telescope that is in focus can make better use of its opening than one with optical problems. Atmospheric steadiness matters too: when turbulent air blurs the view, fine detail may remain out of reach regardless of aperture.
The mount is part of the observing experience. If the telescope shakes while you adjust focus, it can be difficult to tell whether a detail is real or whether the image is simply moving. A finder aligned with the main telescope also makes it easier to bring a target into view.
- Check whether the target looks sharply focused; if it does not, adjust focus slowly, and if it still will not sharpen, pause before judging the aperture.
- Check whether the image steadies after you stop touching the telescope; if it does, continue observing, and if it keeps shaking, stabilize the mount or avoid adjusting it while viewing.
- Check whether a reflector’s mirrors appear properly aligned; if not, collimate it according to the instrument’s instructions, and if you are unsure, consult an experienced observer or a qualified repair professional.
- Check whether the target is low near the horizon, where its image may look less steady; if it is, wait until it rises higher, and if it is already high, consider other causes of blur.
- Check whether the object is faint and diffuse rather than bright and sharply defined; if it is, use an eyepiece that keeps the view comfortable, and if it is bright, try a different magnification to inspect detail.
- Check whether the telescope has had time to adjust to the outdoor temperature; if the image shows shifting softness, give the optics time to settle, and if it remains soft, refocus and check alignment.
Aperture comes with practical trade-offs
A larger aperture often means larger optical components, which can make a telescope harder to carry, set up, or store. A smaller instrument that fits your observing space and is easy to bring outside may be more useful than a larger one that is cumbersome to handle.
Reflectors use mirrors and may need collimation. Refractors use lenses and generally avoid mirror alignment, but their design and size can also affect handling. The useful choice depends on where you plan to observe, how you will store the telescope, and whether its mount feels steady enough for your purposes.
Say you plan to observe from a small balcony and are comparing two telescopes with different apertures. You check whether each can be carried through the doorway, placed securely, and aimed without bumping the railing; the larger model cannot be set up comfortably, while the smaller one fits and stays steady. In that invented situation, choosing the smaller telescope trades some light-gathering capacity for an instrument you can actually use from that location.
Use aperture as one part of the decision
Aperture tells you the diameter of the light-gathering opening and helps explain why a larger telescope can collect more light and potentially resolve finer detail. It does not predict exactly how bright an object will look or how sharp the image will be on a particular night.
When comparing telescopes, consider aperture alongside optical design, mount stability, eyepieces, and the space available for storage and setup. For a specific target, consider whether you are trying to see a faint object, inspect fine detail on a bright one, or find a comfortable view at lower power.
At the eyepiece, change one thing at a time: focus first, then try another magnification if the view calls for it. That makes it easier to tell whether a softer image comes from the eyepiece choice, the telescope, or the conditions.
Nearby in the sky
When the Sky Is Bright: Observing Through Urban Light
Bright city skies hide faint stars, but the Moon, planets, and familiar constellations can still make…
What a Meteor Shower Actually Leaves Behind
Meteor showers seem to stream from one patch of sky, but that apparent source is a…